
It was raining outside when I made it (and still is) or I would have a better picture.


Drum roll, please.....
Ruffin's Reversible Stocking Tutorial
Materials needed:
Exterior fabric – ¾ yard
Liner fabric – ¾ yard
·
The
exterior and liner fabrics will be interchangeable when you are finished
(because its reversible!), but you will want to pick one to stand for each for
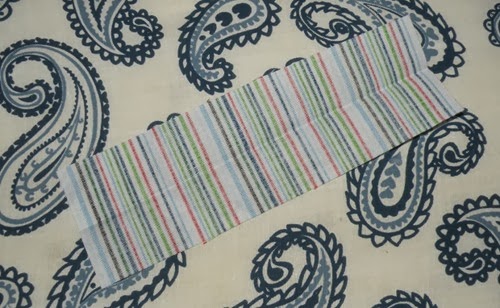
the construction process. For (most of) this tutorial, the thicker, vertically stiped fabric is my exterior and the thiner, horizontally stipred fabric is my liner.
·
You may
need more fabric if you have to match up a one-directional pattern.
·
I used
quilting cotton, but other fabrics would work. If you use a thicker or heavier
fabric, you may want to eliminate the fusible fleece interfacing.
Fusible Fleece – ¾ yard - I used Pellon 987F
Coordinating thread
Disappearing fabric marker or fabric chalk
All seams are ¼ inch unless stated otherwise.
Print, tape together and cut out the stocking pattern piece,
Make sure you print at 100% (no page scaling). Trace the stocking directly onto
the fabric, then flip the pattern over and trace a mirror image onto the
fabric. Cut 2 stocking pieces like this out of each fabric and fusible fleece. Make sure the right/fusible sides are
mirror images of each other like this:

Cut one (1) 6” long x 18” wide pieces out of each fabric and
fusible fleece for the cuff. If you are using directional fabric, you will want
to cut it to match wide ways.
Cut one (1) 6” long x 2” wide piece out of each fabric for the
hanging loop. If you are using directional fabric, you will want to cut it to
match long ways, like this:

Press the 2”x6” exterior piece in half, matching the wrong
sides along the long edge. Open and fold the long edges in toward the center
crease so that they meet in the middle and press. Fold in half and press again (like double-fold bias tape).
Stitch along the open edge to form the hanging loop. Repeat this process
for the 2”x6” lining piece.


Following the manufacturer’s instructions, fuse the fleece
onto the wrong side of the 2 exterior stocking pieces and the 6”x18” exterior piece.
Match right sides of the exterior stocking together and pin.
Stitch around the sides and bottom. Do the same for the lining stocking, but leave
a 5 inch opening on the back side above the heel for turning, backstitching at both ends of
the opening.
Cut notches in the heel and toe seam allowance, being
careful not to clip the stitching:

Turn both stockings right-side out and press. Make sure to press the opening in the lining to match the seam.
Fold the exterior hanging loop in half and pin to the heel
side seam of the exterior stocking, matching edges. The seam allowance of the
stocking should be pressed to one side from previous step. Sew across edge with
a zig-zag stitch and backstitch back across. Repeat with lining pieces.

Fold the exterior cuff piece in half with right sides
together, matching short sides and stitch. Press seam open. Repeat for lining
cuff.

With right sides together, slide the exterior cuff over the
top edge of the exterior stocking. If you
have a one-directional fabric, make sure the design on the cuff piece is right
side up here (same direction as the stocking). Line up top edges and match
the cuff seam with the heel side seam. Pin, making sure the hanging loop is lying
flat in between the cuff and stocking, and sew. Turn entire piece wrong-side
out and press the new seam flat. Repeat with lining.

Leave the lining wrong-side out and turn exterior right-side
out. Slide the exterior stocking into the lining - right sides should be together.
(You’re not crazy – this is a picture of a different stocking - the green is my liner, red is the exterior)

Match the cuff seams and line up top edges. Pin and sew all
the way around.

Turn through the opening in the lining. Hand-sew the opening
closed. Push the liner into the exterior stocking. Press around the top cuff
edges before turning down. After turning down cuff, press stocking completely. Reverse
when the urge arrives!
I hope that all made sense. Sorry some of the pictures were not all of the same stocking. I will have to re-do the pictures next time I make a stocking. Please let me know if you have any questions or something doesn't make sense!! Happy Stocking Making!